Ink cartridges are an essential part of the printing process, storing the ink needed to produce visible information on paper.
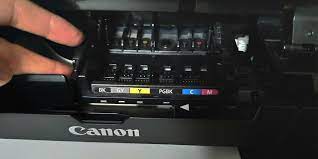 Therefore, if there is a problem with the ink cartridge, the printer will not function properly. Therefore, regular maintenance and some knowledge of troubleshooting will keep your printing running smoothly for a long time.
In today’s article, we will answer the question, “How to reset Canon Pixma ink cartridges?” with a comprehensive step-by-step guide.
How to Reset Canon Pixma Ink Cartridge
Table of Contents
Method 1: Use Chip Reset
The ink cartridges used in Canon Pixma printers contain a chip that monitors the amount of ink remaining in the cartridge.
When the ink level gets low or the cartridge runs out of ink, the built-in chip detects this and notifies the user that a refill is needed. The printer will also stop working until it is refilled.
There are two types of chips in Canon Pixma ink cartridges: chips that are automatically reset and chips that are not.
To reset the latter, you must purchase a reset device that matches your printer model, refill the original cartridges, and then follow the steps below.
Step 1: Transfer the ink cartridges from the printer to the reset device.
Simply remove the ink cartridges from the Canon Pixma printer and place them in the main channel of the resitter.
Step 2: Make sure the cartridge tip is in contact with the reset plate.
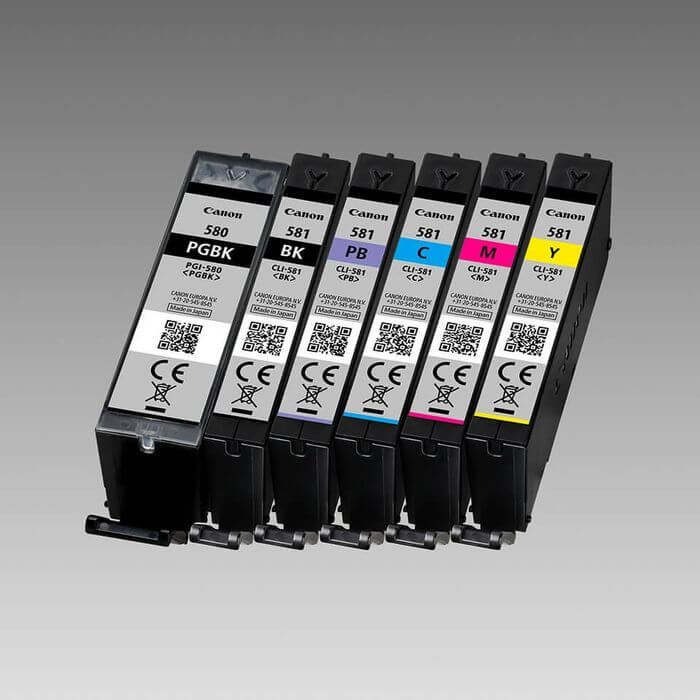 This is an important part of the reset process using the reset switch. You must make sure that the ink cartridge tip that you just inserted into the reset device is in contact with the reset plate.
This contact can be easily verified by checking the chip resitter and observing the illumination of its LED.
After gently pressing the ink cartridge for a few seconds, if the light flashes repeatedly, contact has been made between the cartridge tip and the resitter plate.
Step 3: Hold the contact for a few seconds.
Next, you should continue to apply gentle pressure to the ink cartridge in the reset until the LED light shows a steady, even glow.
Step 4: Transfer the ink cartridge from the reset device to the printer.
Now that the reset is complete, remove the ink cartridge from the reset device and place it back into the slot in the Canon Pixma.
Method 2: Universal Approach
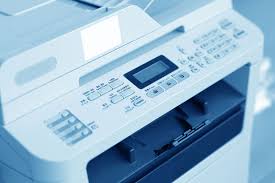 This method is a universal method that can be used for almost all Canon Pixma models.
iP1600, iP1800, iP2600, iP2700, iP2702.
mp150, mp160, mp170, mp180, mp190, mp210, mp240, mp250, mp260, mp270, mp280, mp450, mp460, mp470, mp480, mp490, mp495.
mx300, mx310, mx320, mx330, mx340, mx350, mx360, mx410, mx420, mx432, mx439, mx452, mx512, mx522.
mg2120, mg2220, mg3120, mg3220, mg4120, mg4220.
STEPS.
On the computer screen, click “Resume”, “OK”, or “Stop/Reset”. The printout should proceed in “out of ink” mode.
You can also press “Resume”, “OK”, or “Stop/Reset” for the same result.
Method 3:
For Canon Pixma with display screen
If your Canon Pixma has a display screen (LCD), you should be able to reset the ink cartridges by following one of the steps below.
Step 1: For MP, MX, and MG models turn
 1. off the printer by pressing the power button. Make sure the printer is not running.
2. While holding down the power button, press the “Stop/Reset” button for a few seconds.
3. While holding down the power button, release your finger from the “Stop/Reset” button and press it twice in succession.
4. After about 30 seconds, “0” should appear on the printer display.
5. Press the Stop/Reset button four times consecutively.
6. Press the power button twice consecutively.
7. Press the power button again to turn off the printer. The printer reset is now complete.
8. Disconnect all USB cables from the printer and unplug the power cord.
9. Open the cartridge compartment and press the power button.
10. While pressing the power button, plug in the power cable.
11. Close the cartridge slot and release the power button. The ink cartridge reset is complete.
Step 2: For MP140-830
Turn on the printer.
Press the “Reset” button and the “Color Start” button simultaneously for about 5 seconds.
Release the “Color Start” button first, then the “Reset” button.
Wait about 30 seconds for the printer to complete the setting. After that, “1” should appear on the printer’s display.
Press the “Tools” button for a few seconds; the letter ‘A’ should appear.
While holding down the “Tools” button, press and hold the “Reset” button until the printer’s light stops blinking.
Release the “Tools” button first, then the “Reset” button.
Then, while holding down the stop/reset button, press the power button.
While holding down the power button, press the stop/reset button twice after the power light comes on.
When the stop/reset button and the power button are released, the service mode should appear. A menu should appear on the screen and confirm that each function displayed corresponds to the number of times it should be pressed.
When the LED light flashes green, press the stop/reset button the number of times corresponding to the function. With each press, the orange, then green light will illuminate.
Method 4: For Canon Pixma without display screen
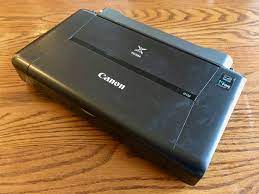 The following steps should allow you to reset the cartridge in your Canon Pixma IP series printer.
STEPS.
Press the “Resume” button and the power button simultaneously for about 5 seconds.
Release the Resume button.
Press the Resume button five times consecutively.
Release the power button. After a few seconds, confirm that the blinking power/ink level light comes on.
Printing should now continue in “out of ink” mode.
How to Reset Canon Pixma Ink Cartridge | Video Explanation
How to Reset Canon Pixma Ink Cartridge | Infographic
Frequently Asked Questions
How do I reset the ink cartridges in my Canon Pixma?
Launch the Canon IJ Printer Assistant tool. Make sure the printer is turned on and click on Ink Level Notification Settings. Select the ink color and click [Reset] to reset the ink level counter. To reset the remaining ink counter, fill the ink tank to the upper limit line.
How do I get the Canon printer to recognize a filled cartridge?
First, try removing and reinstalling the cartridge to see if the printer recognizes it. If the printer still does not recognize the cartridge, press and hold the stop button (the button with the triangle in a circle) for at least 7 seconds.
My Canon ink cartridge is not recognized, what can I do to fix it?
If your Canon printer does not recognize the compatible ink cartridge, it may be because the chip data on the cartridge is marked with a status of empty before regeneration. Press and hold the Stop/Cancel button for 5 seconds and the “out of ink” message should disappear and the cartridge should activate.
Why doesn’t the printer recognize the new ink cartridge?
Replace the old cartridge with the new cartridge and try to see if the printer recognizes the cartridge. If it still does not, remove the new cartridge and place it in a safe place and on a safe surface to prevent further damage. Turn off the printer, unplug it from the power outlet, and let it sit for 10 minutes.
Why does my Canon printer not print after replacing the cartridge?
After replacing the printer’s empty ink cartridges, the printer may not print correctly or at all. This often happens when the printer does not recognize the cartridge or “thinks” it is still empty. These problems are even more common if you have filled the empty cartridge yourself.
Conclusion
This is a brief description of how to reset the Canon Pixma ink cartridges. To ensure a successful reset process, please use the appropriate method for your printer model.
Remember that if more than one ink cartridge is installed, you will need to repeat the above procedure.

