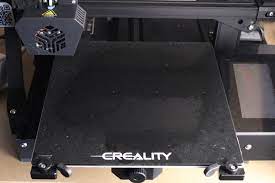
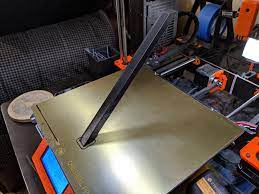
Cleaning a 3D printer bed is a crucial aspect of maintaining optimal print quality and prolonging the life of your equipment. Whether you are using a glass, PEI, or adhesive tape print bed, regular cleaning ensures proper adhesion and prevents potential issues during the printing process.

Why is Cleaning Important?
Table of Contents
The 3D printer bed serves as the foundation for your prints, and neglecting its maintenance can lead to reduced adhesion, poor print quality, and potential damage to the bed over time. Different print bed surfaces require specific cleaning methods to effectively remove contaminants like filament residue, oils, dust, and grime.
Also Read: How to Clean Printer Heads Epson
Glass Print Beds:
Glass print beds, often made of borosilicate glass, are popular for their smooth printing surfaces. Proper cleaning is essential to maintain optimal performance.
Cleaning Frequency:
The cleaning frequency depends on usage. After each print, gently scrape off any residue. If adhesion decreases after a month, move to more advanced cleaning methods.
Cleaning Methods:
- Scraping: Use a scraper to remove debris after each print. Raise the bed temperature to ease scraping without damaging the surface.
- Soapy Water: Remove the bed from the printer, clean it with lukewarm soapy water, and ensure thorough drying.
- Isopropyl Alcohol (IPA): For stubborn residues, use 70% or less concentrated IPA. Be cautious with acetone, as it is highly flammable.
PEI Print Beds:
Polyetherimide (PEI) print beds offer a low-maintenance surface but require regular cleaning for optimal adhesion.
Cleaning Frequency:

Clean after each use to prevent filament residue buildup. Light cleaning may be necessary after extended periods of inactivity.
Cleaning Methods:
- Acetone or Brake Cleaner: Effective for tough residues, but use sparingly to avoid damaging the PEI surface.
- Isopropanol (Isopropyl Alcohol): Suitable for standard to intermediate cleaning. Apply to an excellent surface and wipe with a 99% isopropanol solution.
Adhesive Tapes:
Adhesive tapes are affordable and easy to replace but need frequent maintenance.
Cleaning Frequency:
Scrub lightly after each print, and replace the tape every one to two weeks.
Cleaning Methods:
- Scraping: Gently scrub the surface with a spatula to remove filaments. Be cautious not to damage the tape.
- Replacing Tapes: When worn or uneven, remove the old tape, clean it with soap and water, and apply a new layer.
Benefits of a Clean 3D Printing Bed:
- Improved Adhesion: Ensures proper layer adhesion for high-quality prints.
- Extended Bed Life: Regular cleaning prevents irreversible damage, prolonging the print bed’s lifespan.
- Consistent Print Quality: Maintains the quality of the first layer, ensuring successful prints.
Also Read: How to connect a Brother printer to WiFi
How to Clean PEI Printed Beds
 The following procedure is recommended for cleaning the PEI 3D print bed.
What you will need
The following materials are required for cleaning the PEI 3D print bed
- Isopropyl alcohol (IPA) concentration 70% to 99.99% (depending on cleaning).
- Acetone/propanone
- Paper towels, microfiber cloths, or cotton
- Sandpaper (grit +1,500)
Procedure
The use of unscented IPA at 70% concentration is the safety standard for cleaning PEI 3D print beds. It is volatile (evaporates), so there is no risk of the liquid spreading. If there is a lot of oil, dirt, grease, etc. on the surface, a purer API can be used.
For safety reasons, always use it in a well-ventilated area.
Apply IPA and wipe well with a dry microfiber cloth, paper towel, or cotton cloth. The highly concentrated IPA will completely dissolve the organic oil, making it easier to remove.
Any 3D ink or plastic stubbornly stuck to the bed should be removed with acetone. Pour acetone onto a cloth and dampen it (do not pour it directly onto the bed).
PEI is not soluble in acetone, but too much acetone for a long time will still damage it. Wipe the bed in a circular motion to remove the plastic compound. Pour it directly on stubborn stains to soften them and remove them.
Remember to use acetone only when alcohol no longer removes the stain.
If the stain is severe or the surface is uneven, use fine-grit sandpaper (+1 500) to remove deposits or smooth the surface and pull evenly after cleaning. Do not forget to re-clean the surface after sanding, as sanding will generate very fine dust particles on the surface.
Maintenance time
Maintenance intervals depend on the brand of the PEI sheet and the frequency of use. This also determines the service life. Another common modus operandi is to use glue or hairspray to prevent the model from sticking to the bed. While this technique has proven to be effective, it can cause cleaning problems if proper guidelines are not followed.
Wiping after a few prints is standard to prevent damage, but follow the instructions. Depending on usage (average of one month), restoration with acetone or sandpaper may be necessary.
Glass
Glass is a very common material for 3D printing; it has a longer life than PEI. It also facilitates the use of lacquers and adhesives in the 3D printing process because the surface does not react with any material. Glass 3D printing beds have a uniform surface and are relatively easy to clean.
The glass itself does not have good surface adhesion. It is usually used with adhesives such as glue sticks or hairspray. It improves the surface adhesion of the first printed layer and establishes a stable base for the rest of the model.
Also Read: Which Printer has the Cheapest ink Cartridges
Cleaning the Glass 3D Print Bed
Here are the recommended cleaning methods for glass 3D print beds.
What you will need
- Scraper
- Dishwashing detergent
- Sponge
- Isopropyl alcohol (IPA) concentration is 70% to 99.99% (depending on the cleaning)
Paper towels, microfiber cloths, or cotton.
Process
Heated glass 3D printing beds are easy to work with because the surface is not sensitive to heating. The heat makes it easier to scrape off the residue. Glass is sharp and easily scratched, so use caution when scraping.
To begin with, all traces of adhesive and lacquer must be removed from the glass 3D printing medium. This can be easily done with a smooth, level object such as a plastic ruler or metal spatula. If metal is used, apply only the minimum amount of force necessary, as it may scratch the glass. After removing the adhesive, move on to removing any prints that have stuck to the bed.
The scraper blade is very sharp. Apply downward pressure with one hand and grasp the edge or center of the glass bed with the other hand. This will properly remove any remaining material and prevent your hand from slipping. Remember that touching the bed with your hands will leave grease and dirt that will need to be cleaned up later.
Soap and water are best for removing adhesives and lacquers. Check the composition of the product to see how soluble it is in water. In some cases, acetone or alcohol may be a better solvent for removal. Once used, microfiber cloths are difficult to remove stains, so wipe with disposable paper or cotton cloths.
Note: Use caution when using liquids as they may damage nearby electronic equipment.
Also Read: Cheapest Place To Buy Printer ink Online
Maintenance Time
Maintenance intervals for the 3D print bed vary depending on the application and material from which the model is printed. Scrubbing after each print will remove print material from the bed and prevent build-up which would make cleaning difficult. It also keeps the base of the next model clean and easy to remove.
If the bed is used daily, use soap and water once a week. Otherwise, monthly maintenance is sufficient to keep the prints adhered to; IPA or acetone should only be used if the deposits are very difficult to remove.
Adhesive tape
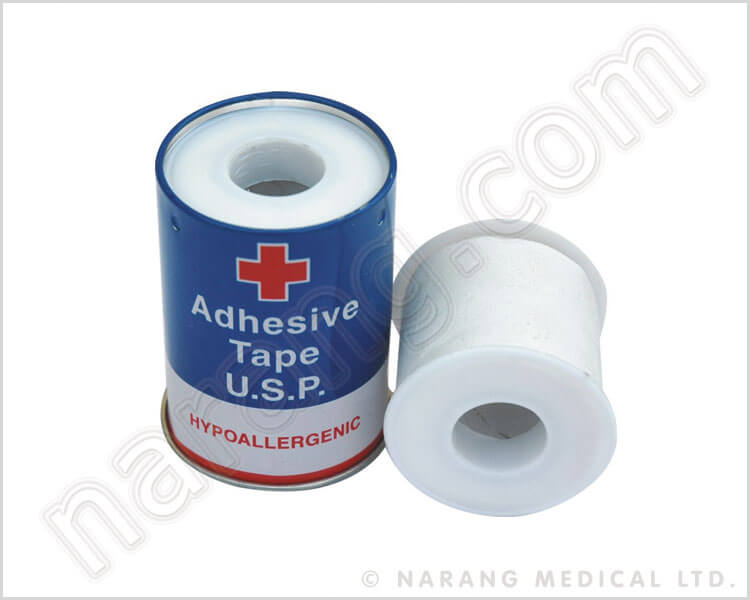
 Tape is easy to use and inexpensive to replace. As such, they are a reliable choice for those who are just starting out in 3D printing or are looking for a cheap but reliable 3D printing medium.
Because of its heat sensitivity, it is mainly used in non-heated beds. Masking tape or thumbtacks are the best choices for 3D printing beds with tape.
Also Read: How long does printer ink last before it dries up
Cleaning a 3D print bed with tape
 Here are the recommended cleaning methods for taped 3D printer beds.
What you will need
- More of the same type of tape
- Scraper, plastic ruler, or metal spatula
- Isopropyl alcohol (IPA) concentration is 70% to 99.99% (depending on the cleaning)
- Dishwashing detergent
- Sponge
- Paper towels, microfiber cloths, or cotton
- Process
While the tape is easy to use, it is difficult to clean. Simply scrub with a metal spatula to clean filament residue. Any areas that show wear should be painted over. Be sure to keep the 3D print bed level to print the model perfectly (link to Ender 3 Bed Levelling Guide).
The bed may simply be worn or not level evenly. This is a good indication for replacement. Remove all strips and clean the bottom of the bed with IPA or soap and water. Allow drying completely before applying a new layer.
Maintenance Time
Tape-type 3D print beds have a short lifespan and require frequent repair or replacement. Lightly scrub the surface after each print and replace the entire tape after one to two weeks, depending on the frequency of use.
Also Read: How to keep printer ink from drying out
How to Clean a 3D Printer Bed | Video Explanation
How to Clean a 3D Printer Bed | Infographic

Conclusion:
Maintaining a clean 3D printer bed is essential for achieving optimal printing results. Different bed surfaces require specific cleaning methods, and regular maintenance ensures consistent print quality and extends the life of your 3D printer bed. Follow the recommended cleaning procedures to master keeping your 3D printer bed in top condition.

